How To: Adjust the Knuckle Hinge on a Swinging Patio Door
Tools Required:
- 3/16” Hex Wrench
- 5/64” Hex Wrench
- Small Flat-Head Screwdriver
- Safety Glasses
- Gloves
- Anti-cut Resistant Safety Sleeves
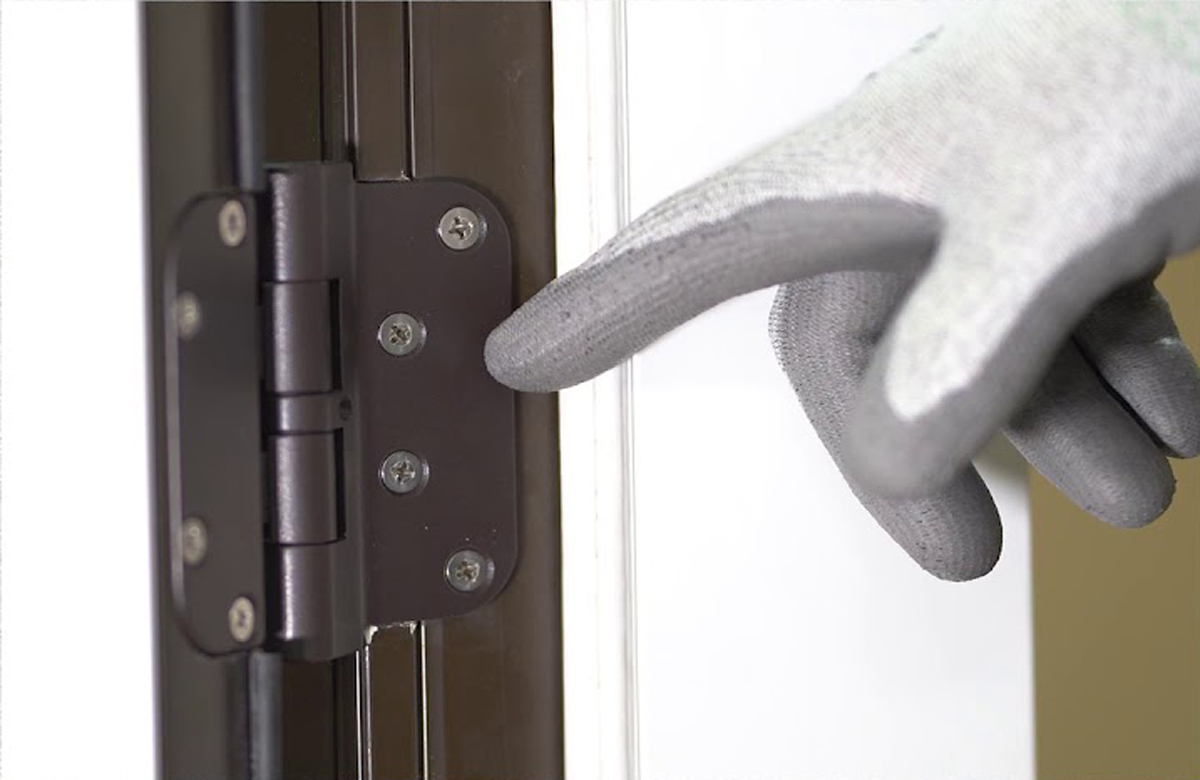
Start the hinge adjustment steps only after the door frame is installed, plumb, level, and square. The hinge anchor screws must be installed so that the hinge levels and the door frame are securely mounted to the rough opening. Note that there are two types of adjustable hinges on each door panel. The set hinge is located in the center panel and carries the weight. Look for the visible adjusting screw on the door sash leaf, this identifies the hinge as a guide hinge. We are ready to begin adjusting the hinges.
Steps for how to adjust the knuckle hinge:
Step 1: Remove the press-fit finial cap from the bottom of the set hinge to expose the adjustment screw.
Step 2: Insert the 3/16 hex wrench into bottom of the set hinge. Tighten the screw to raise the panel and loosen to lower the panel. Adjust as needed to ensure vertical gaps are even. Then reinstall the finial cap removed in step 1.
Step 3: Use the 5/64 hex wrench to tighten the set screw, this will ensure your adjustments stay secure.
Next we are ready to adjust the panel horizontally using the top and bottom guide hinges. With the door panel open, insert a 3/16 hex wrench into the horizontal adjustment screw. Turn clockwise to decrease the margin, and counterclockwise to increase the margin on the hinge side. Check gaps to ensure that they are even by opening and closing the door panel. Repeat this process as needed.